情境
布局(Layout)是一開始寫Android就會碰到的第一個課題,
在Android要排版排的好, 必須對Layout有基礎的認識,
LinearLayout提供垂直跟水平兩種模式的排版,
讓你有效的應用這兩種模式情境,
將你所需要的元件進行排版。
布局+說明
一開始你必須指定要垂直還是水平的布局, 所以要先設定
android:orientation它可以讓你選擇vertical或者horizontal,
如果你沒有設定的話, 它預設就會是水平布局。
<?xml version="1.0" encoding="utf-8"?>
<LinearLayout xmlns:android="http://schemas.android.com/apk/res/android"
    android:id="@+id/activity_main"
    android:layout_width="match_parent"
    android:layout_height="match_parent"
    android:paddingBottom="@dimen/activity_vertical_margin"
    android:paddingLeft="@dimen/activity_horizontal_margin"
    android:paddingRight="@dimen/activity_horizontal_margin"
    android:paddingTop="@dimen/activity_vertical_margin">

    <TextView
        android:layout_width="wrap_content"
        android:layout_height="wrap_content"
        android:text="Hello World!" />
    <TextView
        android:layout_width="wrap_content"
        android:layout_height="wrap_content"
        android:text="Hello World!" />
    <TextView
        android:layout_width="wrap_content"
        android:layout_height="wrap_content"
        android:text="Hello World!" />
</LinearLayout>
你就會看到如下圖所示, 三個TextView被水平的擺放在一起。

那如果使用
android:orientation="vertical"那麼就會看到下圖所示

當然你也可以在垂直布局的LinearLayout內放置一個水平布局的LinearLayout,
任意的排列組合都可以。
<?xml version="1.0" encoding="utf-8"?>
<LinearLayout xmlns:android="http://schemas.android.com/apk/res/android"
    android:id="@+id/activity_main"
    android:layout_width="match_parent"
    android:layout_height="match_parent"
    android:paddingBottom="@dimen/activity_vertical_margin"
    android:paddingLeft="@dimen/activity_horizontal_margin"
    android:paddingRight="@dimen/activity_horizontal_margin"
    android:paddingTop="@dimen/activity_vertical_margin"
    android:orientation="vertical">

    <TextView
        android:layout_width="wrap_content"
        android:layout_height="wrap_content"
        android:text="Hello World!" />
    <TextView
        android:layout_width="wrap_content"
        android:layout_height="wrap_content"
        android:text="Hello World!" />
    <TextView
        android:layout_width="wrap_content"
        android:layout_height="wrap_content"
        android:text="Hello World!" />
    <LinearLayout
        android:layout_width="match_parent"
        android:layout_height="match_parent"
        android:paddingBottom="@dimen/activity_vertical_margin"
        android:paddingLeft="@dimen/activity_horizontal_margin"
        android:paddingRight="@dimen/activity_horizontal_margin"
        android:paddingTop="@dimen/activity_vertical_margin"
        android:orientation="horizontal">
        <TextView
            android:layout_width="wrap_content"
            android:layout_height="wrap_content"
            android:text="Hello World!" />
        <TextView
            android:layout_width="wrap_content"
            android:layout_height="wrap_content"
            android:text="Hello World!" />
        <TextView
            android:layout_width="wrap_content"
            android:layout_height="wrap_content"
            android:text="Hello World!" />
    </LinearLayout>
</LinearLayout>
延續前面的垂直布局再塞入一個水平布局,
就會看到如下圖, 前面三個Hello World是水平,
在包含LinearLayout本身是第四個元素,
而包含在第四個元素的LinearLayout是採取水平布局的模式,
因此你會看到水平的三個Hello world呈水平直線排列。

Layout Weight
LinearLayout有一個特別重要的屬性叫做weight,
它可以根據weight來配置空間, 它會將Layout的剩餘空間來進行weight的配置。
聽起來很複雜對吧? 舉個例子來說
假設目前有三個TextView, 被包覆在一個垂直的LinearLayout,
其中一個設定weight="1", 其餘兩個沒有,
那麼就會先行配置兩個沒有的設定weight的元件,
接著把剩餘空間配置給有設定的元件。
如下面範例所示:
<?xml version="1.0" encoding="utf-8"?>
<LinearLayout xmlns:android="http://schemas.android.com/apk/res/android"
    android:id="@+id/activity_main"
    android:layout_width="match_parent"
    android:layout_height="match_parent"
    android:orientation="vertical">

    <TextView
        android:background="#fff000"
        android:layout_weight="1"
        android:layout_width="wrap_content"
        android:layout_height="0dp"
        android:text="Hello World!" />
    <TextView
        android:layout_width="wrap_content"
        android:layout_height="wrap_content"
        android:text="Hello World!" />
    <TextView
        android:layout_width="wrap_content"
        android:layout_height="wrap_content"
        android:text="Hello World!" />
</LinearLayout>
為了方便解釋, 我們把有設定weight標記顏色,
如下圖黃色部分就是有設定weight的元件。

那你會問如果將兩個元件都設定weight的話,
會出現怎樣的效果呢?
<?xml version="1.0" encoding="utf-8"?>
<LinearLayout xmlns:android="http://schemas.android.com/apk/res/android"
    android:id="@+id/activity_main"
    android:layout_width="match_parent"
    android:layout_height="match_parent"
    android:orientation="vertical">

    <TextView
        android:background="#fff000"
        android:layout_weight="1"
        android:layout_width="wrap_content"
        android:layout_height="0dp"
        android:text="Hello World!" />
    <TextView
        android:background="#ff46f0"
        android:layout_weight="1"
        android:layout_width="wrap_content"
        android:layout_height="wrap_content"
        android:text="Hello World!" />
    <TextView
        android:layout_width="wrap_content"
        android:layout_height="wrap_content"
        android:text="Hello World!" />
</LinearLayout>
一樣方便展示, 將有設定weight的元件進行背景顏色調整,
你會看到兩個被設定weight的元件, 等比例排列在剩餘的空間,
這代表甚麼意思呢?
假設我們沒設定的元件吃掉某段高度, 那麼剩餘空間就是
剩餘高度 = 螢幕高度 - 沒設定的元件高度
接著剩餘高度去讓兩個有設定weight的元件均分
假設
元件一設定 android:weight="1"
元件二設定 android:weight="2"
那麼
元件一的佈局就會是 1/(1+2) = 1/3
元件二的佈局就會是 2/(1+2) = 2/3
在我們這例子由於都是設定為1 ,
因此兩個元件就會平均分配剩餘空間。
如下圖

你可以試著把Layout調整呈上述的說明。
<?xml version="1.0" encoding="utf-8"?>
<LinearLayout xmlns:android="http://schemas.android.com/apk/res/android"
    android:id="@+id/activity_main"
    android:layout_width="match_parent"
    android:layout_height="match_parent"
    android:orientation="vertical">

    <TextView
        android:background="#fff000"
        android:layout_weight="1"
        android:layout_width="wrap_content"
        android:layout_height="0dp"
        android:text="Hello World!" />
    <TextView
        android:background="#ff46f0"
        android:layout_weight="2"
        android:layout_width="wrap_content"
        android:layout_height="wrap_content"
        android:text="Hello World!" />
    <TextView
        android:layout_width="wrap_content"
        android:layout_height="wrap_content"
        android:text="Hello World!" />
</LinearLayout>
就會看到如下圖,

程式碼增加View
我們可以透過程式碼動態的新增一個View,
假設我們宣告了一個LinearLayout並且給它一個ID,
這樣就可以在Activity內進行存取。
<?xml version="1.0" encoding="utf-8"?>
<LinearLayout xmlns:android="http://schemas.android.com/apk/res/android"
    android:id="@+id/activity_main"
    android:layout_width="match_parent"
    android:layout_height="match_parent"
    android:orientation="vertical">
</LinearLayout>
我們就可以在MainActivity內利用ID將Layout取出來,
並且如下範例一樣, 宣告一個動態新增的TextView然後加到這個Layout上面。
public class MainActivity extends AppCompatActivity {

    @Override
    protected void onCreate(Bundle savedInstanceState) {
        super.onCreate(savedInstanceState);
        setContentView(R.layout.activity_main);
        TextView textView = new TextView(MainActivity.this);
        textView.setText("Hello world!");
        LinearLayout linearLayout = (LinearLayout) findViewById(R.id.activity_main);
        linearLayout.addView(textView);
    }
}
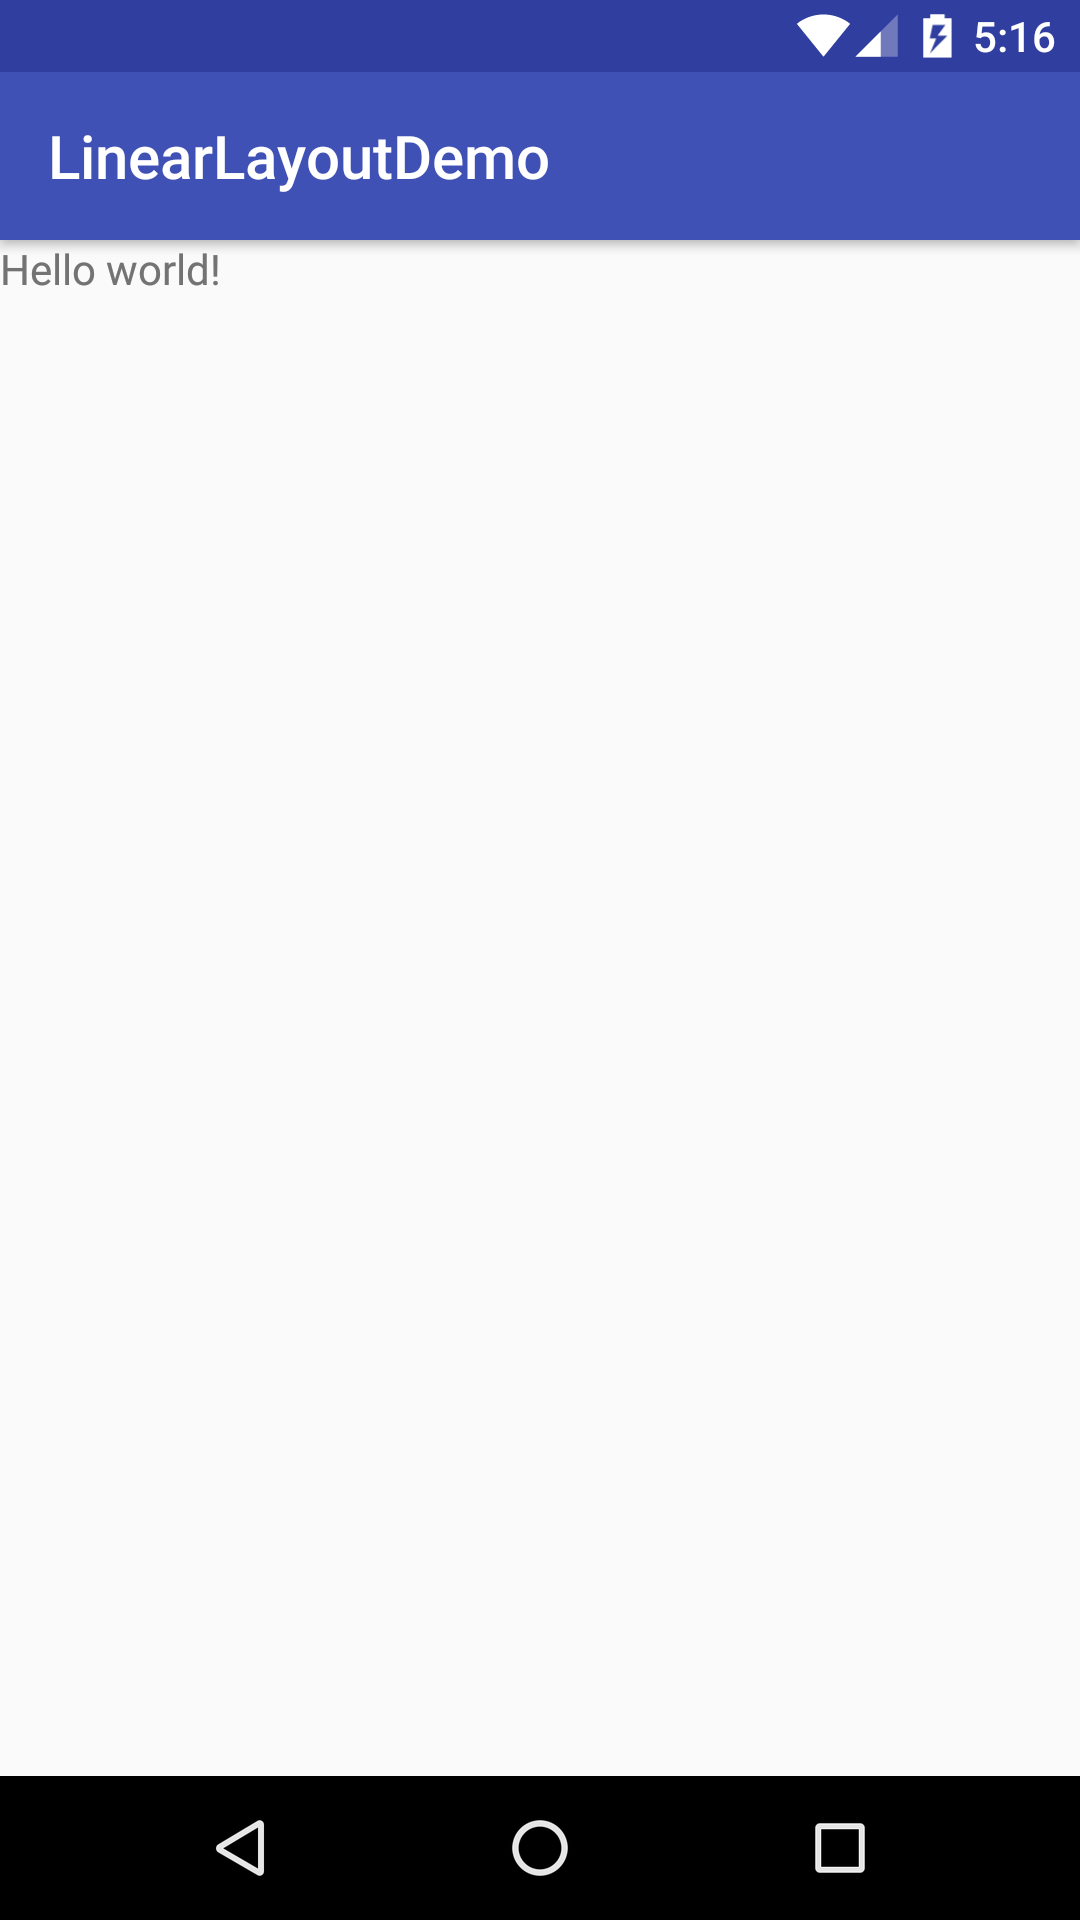
如下圖所示, 就會看到TextView被我們加到LinearLayout內了。

這樣就是一個簡單的操控LinearLayout的例子。