
情境
OkHttp 是 Square 出產的一個 Open source project,是一個很有效率的Http連線的第三方,一些有名的連線套件都是基於這個第三方加入更多的功能,例如Volley和Retrofit。
完整程式碼
你可以到 GitHub 上面觀看或者下載完整的程式碼
程式碼說明
它在使用上也非常的簡單,首先 build.gradle 上直接加以下程式碼。
implementation 'com.squareup.okhttp:okhttp:2.5.0'
記得網路權限也要開一下。
<uses-permission android:name="android.permission.INTERNET" />
建立一個XML。
<?xml version="1.0" encoding="utf-8"?>
<RelativeLayout xmlns:android="http://schemas.android.com/apk/res/android"
    xmlns:tools="http://schemas.android.com/tools"
    android:layout_width="match_parent"
    android:layout_height="match_parent"
    android:paddingBottom="@dimen/activity_vertical_margin"
    android:paddingLeft="@dimen/activity_horizontal_margin"
    android:paddingRight="@dimen/activity_horizontal_margin"
    android:paddingTop="@dimen/activity_vertical_margin"
    tools:context="com.example.givemepass.okhttpdemo.MainActivity">
    <Button
        android:id="@+id/send_request"
        android:text="send request"
        android:layout_width="wrap_content"
        android:layout_height="wrap_content" />
    <ScrollView
        android:layout_below="@id/send_request"
        android:layout_width="match_parent"
        android:layout_height="match_parent">
        <TextView
            android:id="@+id/text"
            android:layout_width="wrap_content"
            android:layout_height="wrap_content"
            android:text="Hello World!" />
    </ScrollView>
</RelativeLayout>
存在一個 Button,按下去處理 Request,當回來的 Response 就顯示在 TextView 上面。

接著透過程式碼去送 Request 給 Google Server,看看 Response 回來什麼東西。
val client = OkHttpClient()
val request = Request.Builder()
        .url("http://www.google.com.tw")
        .build()
client.newCall(request).enqueue(object : Callback {
    override fun onFailure(request: Request, e: IOException) {
        runOnUiThread { text.text = e.message }
  }

    @Throws(IOException::class)
    override fun onResponse(response: Response) {
        val resStr = response.body().string()
        runOnUiThread { text.text = resStr }
  }
})
首先建立一個OkHttpClient的物件,接著在透過Request類別去Builder出一個Request,網址我們就設定為 Google 首頁,再透過OkHttpClient 的 newCall 接收這個 Request,最後,利用 execute 方法去執行這個 Http Request,然後把回來的字串用TextView呈現出來。
這時候你就會發現出現這樣的 Exception。
Caused by: android.os.NetworkOnMainThreadException
怎麼一回事?
原來透過 execute 這個方法必須寫在 Worker Thread,所以我們就加上了 Thread 來執行我們的這個片段。
val service = Executors.newSingleThreadExecutor()
sendBtn.setOnClickListener{
 service.submit {
  val builder = HttpUrl.parse("http://www.google.com").build()
  try {
   val response = client.newCall(request).execute()
   val resStr = response.body().string()
   runOnUiThread { text.text = resStr }
  } catch (e: IOException) {
   e.printStackTrace()
  }
 }
}
由於字串從 Response 回來還是處於 Worker Thread,從 Response 內取出 body 的字串,就是我們要的內容,因此可以透過 runOnUiThread 的方法更新 TextView 的內容。

根據以下程式碼的寫法,就可以加入參數到 Request 內。
val builder = HttpUrl.parse("https://www.google.com.tw/search?").newBuilder()
builder.addQueryParameter("q", "givemepass")
builder.addQueryParameter("oq", "givemepass")

val request = Request.Builder()
        .url(builder.toString())
        .build()
就會看到 givemepass 的相關搜尋了。

你也可以加相關 auth 在 header 內。
val request = Request.Builder()
    .header("Authorization", "your token")
    .url(urlStr)
    .build()
透過下面的寫法。
val res = client.newCall(request).execute()
回來的是一個 Response,那就會出現一個疑問了,我可以改用 Callback 的方式嗎?當然可以。
client.newCall(request).enqueue(object : Callback {
 override fun onFailure(request: Request, e: IOException) {
  e.printStackTrace()
 }

 @Throws(IOException::class)
 override fun onResponse(response: Response) {
  if (!response.isSuccessful()) {
   throw new IOException("Unexpected code " + response);
  } else {
   // do something wih the result
  }
 }
})
透過 enqueue 可以傳入一個 Callback,透過 Callback 回來的方法,可以處理成功或失敗。
val request = Request.Builder()
 .url("http://www.google.com.tw")
 .build()
client.newCall(request).enqueue(object : Callback {
 override fun onFailure(request: Request, e: IOException) {
  text.text = e.message
 }

 @Throws(IOException::class)
 override fun onResponse(response: Response) {
  val resStr = response.body().string()
  text.text = resStr
 }
})
居然閃退了,怎麼一回事?
看一下 log。
android.view.ViewRootImpl$CalledFromWrongThreadException: Only the original thread that created a view hierarchy can touch its views.
原來使用 enqueue 方法實作 callback,OkHttp 會幫你產生一個Worker Thread,因此回來的的 response 也是在 Worker Thread,如果你要更新 TextView 的畫面必須調整回 Main Thread。
client.newCall(request).enqueue(object : Callback {
 override fun onFailure(request: Request, e: IOException) {
  runOnUiThread { text.text = e.message }
 }

 @Throws(IOException::class)
 override fun onResponse(response: Response) {
  val resStr = response.body().string()
  runOnUiThread { text.text = resStr }
 }
})
這樣一來就可以看到回來的畫面了。

這時候你就會想到, 網路最常使用的格式 JSON 可不可以處理?
當然可以。
透過以下網址取 JSON,
https://raw.githubusercontent.com/givemepassxd999/okhttp_demo/master/app/src/main/res/sample.json
回來會看到以下的資訊。
[ { "Name" : "Alfreds Futterkiste", "City" : "Berlin", "Country" : "Germany" }, { "Name" : "Berglunds snabbköp", "City" : "Luleå", "Country" : "Sweden" }, { "Name" : "Centro comercial Moctezuma", "City" : "México D.F.", "Country" : "Mexico" }, { "Name" : "Ernst Handel", "City" : "Graz", "Country" : "Austria" }, { "Name" : "FISSA Fabrica Inter. Salchichas S.A.", "City" : "Madrid", "Country" : "Spain" }, { "Name" : "Galería del gastrónomo", "City" : "Barcelona", "Country" : "Spain" }, { "Name" : "Island Trading", "City" : "Cowes", "Country" : "UK" }, { "Name" : "Königlich Essen", "City" : "Brandenburg", "Country" : "Germany" }, { "Name" : "Laughing Bacchus Wine Cellars", "City" : "Vancouver", "Country" : "Canada" }, { "Name" : "Magazzini Alimentari Riuniti", "City" : "Bergamo", "Country" : "Italy" }, { "Name" : "North/South", "City" : "London", "Country" : "UK" }, { "Name" : "Paris spécialités", "City" : "Paris", "Country" : "France" }, { "Name" : "Rattlesnake Canyon Grocery", "City" : "Albuquerque", "Country" : "USA" }, { "Name" : "Simons bistro", "City" : "København", "Country" : "Denmark" }, { "Name" : "The Big Cheese", "City" : "Portland", "Country" : "USA" }, { "Name" : "Vaffeljernet", "City" : "Århus", "Country" : "Denmark" }, { "Name" : "Wolski Zajazd", "City" : "Warszawa", "Country" : "Poland" } ]
好亂喔!不過沒關係,只要透過JSON Parser這個網站,就可以看到很整齊的 Json 格式。
[
 {
  "Name":"Alfreds Futterkiste",
  "City":"Berlin",
  "Country":"Germany"
 },
 {
  "Name":"Berglunds snabbköp",
  "City":"Luleå",
  "Country":"Sweden"
 },
 {
  "Name":"Centro comercial Moctezuma",
  "City":"México D.F.",
  "Country":"Mexico"
 },
 {
  "Name":"Ernst Handel",
  "City":"Graz",
  "Country":"Austria"
 },
 {
  "Name":"FISSA Fabrica Inter. Salchichas S.A.",
  "City":"Madrid",
  "Country":"Spain"
 },
 {
  "Name":"Galería del gastrónomo",
  "City":"Barcelona",
  "Country":"Spain"
 },
 {
  "Name":"Island Trading",
  "City":"Cowes",
  "Country":"UK"
 },
 {
  "Name":"Königlich Essen",
  "City":"Brandenburg",
  "Country":"Germany"
 },
 {
  "Name":"Laughing Bacchus Wine Cellars",
  "City":"Vancouver",
  "Country":"Canada"
 },
 {
  "Name":"Magazzini Alimentari Riuniti",
  "City":"Bergamo",
  "Country":"Italy"
 },
 {
  "Name":"North/South",
  "City":"London",
  "Country":"UK"
 },
 {
  "Name":"Paris spécialités",
  "City":"Paris",
  "Country":"France"
 },
 {
  "Name":"Rattlesnake Canyon Grocery",
  "City":"Albuquerque",
  "Country":"USA"
 },
 {
  "Name":"Simons bistro",
  "City":"København",
  "Country":"Denmark"
 },
 {
  "Name":"The Big Cheese",
  "City":"Portland",
  "Country":"USA"
 },
 {
  "Name":"Vaffeljernet",
  "City":"Århus",
  "Country":"Denmark"
 },
 {
  "Name":"Wolski Zajazd",
  "City":"Warszawa",
  "Country":"Poland"
 }
]
JSON 是以一個 KEY : VALUE 的形式存在著,好處是簡單易懂資料少、節省頻寬,所以成為大家很喜歡的一種交換格式。
那怎麼使用呢?
client.newCall(request).enqueue(object : Callback {
 override fun onFailure(request: Request?, exception: IOException?) {}

 override fun onResponse(response: Response) {
  try {
   val responseData = response.body().string()
   val json = JSONObject(responseData)
   val owner = json.getString("name")
  } catch (e: JSONException) {}
 }
})
一樣是從 Response 物件回來的 body 取得字串,再透過原生的JSONObject 去存取,根據 key 把 value 取出來。
在 如何使用Gson 這篇文章中,我們可以透過比較方便的方法去解析 Json 字串,因此,使用 Gson 會是一種比較好的做法。
首先,我們將 Gson 的 library 加入到 build.gradle。
implementation 'com.google.code.gson:gson:2.8.5'
接著建立一個 Json 物件的類別,這邊可以先宣告好變數以後,透過Android Studio 的自動生成完成。
class JsonData {
 @SerializedName("Name")
 var name: String? = null
 @SerializedName("City")
 var city: String? = null
 @SerializedName("Country")
 var country: String? = null
}
接著我們一樣從 Response 接回來以後,取出 body 再透過 Gson 轉成物件。
val request = Request.Builder()
 .url("https://raw.githubusercontent.com/givemepassxd999/okhttp_demo/master/app/src/main/res/sample.json")
 .build()
client.newCall(request).enqueue(object : Callback {
 override fun onFailure(request: Request, e: IOException) {
  runOnUiThread { text.text = e.message }
 }

 @Throws(IOException::class)
 override fun onResponse(response: Response) {
  val resStr = response.body().string()
  val jsonData = Gson().fromJson<List<JsonData>>(resStr, object : TypeToken<List<JsonData>>() {}.type)
  runOnUiThread {
   val sb = StringBuffer()
   for (json in jsonData) {
    sb.append("name:")
    sb.append(json.name)
    sb.append("\n")
    sb.append("city:")
    sb.append(json.city)
    sb.append("\n")
    sb.append("country:")
    sb.append(json.country)
    sb.append("\n")
   }
   text.text = sb.toString()
  }
 }
})
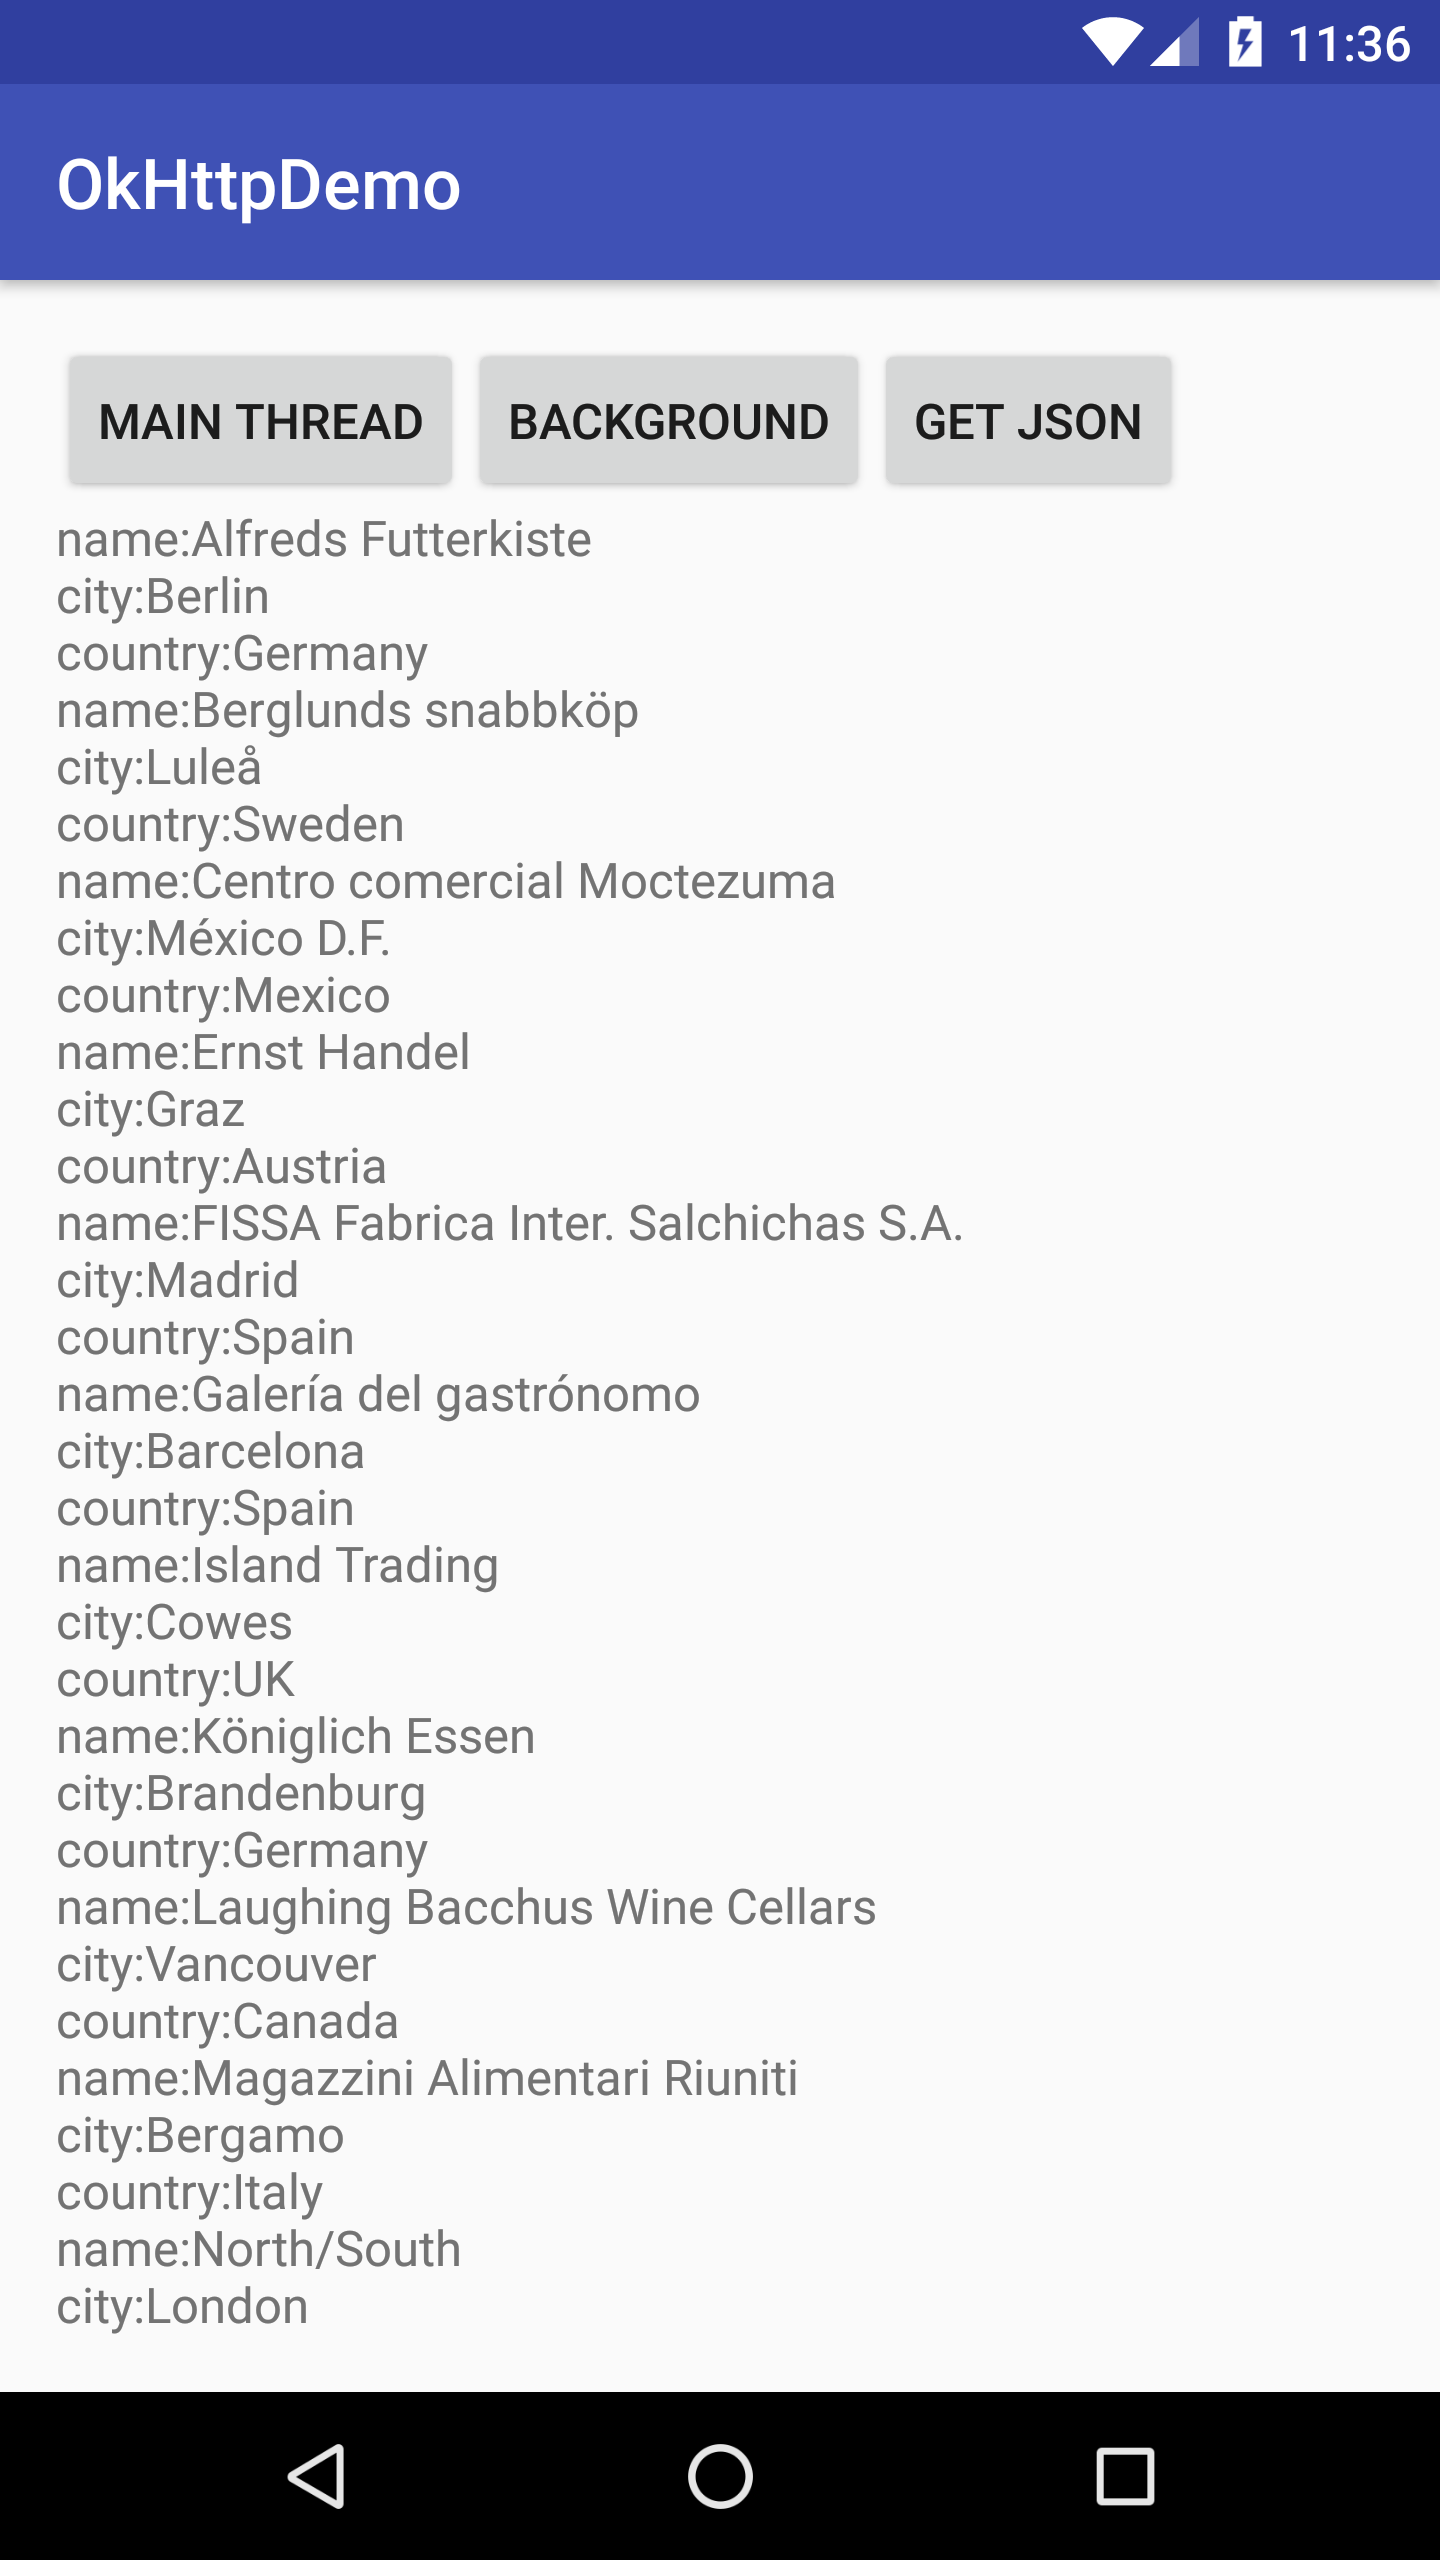
這樣一來就可以看到這樣的畫面。
這樣就是一個簡單操作 OkHttp 的例子了。