
情境
想要儲存一些簡單的資料,可以使用 SharedPreferences 來儲存,假設現在有三個欄位,分別是名字,電話和性別,我不想要離開程式以後,資料就消失了,我可以把這些數值利用 SharedPreferences 存起來。
程式碼下載
可以從 GitHub 直接下載完整程式碼
程式碼說明
首先 xml 設計好三個欄位,以及三個按鈕,方便驗證我們是否有將資料存入。
<?xml version="1.0" encoding="utf-8"?>
<LinearLayout xmlns:android="http://schemas.android.com/apk/res/android"
    xmlns:tools="http://schemas.android.com/tools"
    android:orientation="vertical"
    android:layout_width="match_parent"
    android:layout_height="match_parent"
    android:layout_margin="10dp"
    tools:context=".MainActivity">

    <TextView
        android:layout_width="match_parent"
        android:layout_height="wrap_content"
        android:text="Name"/>
    <EditText
        android:layout_width="match_parent"
        android:layout_height="wrap_content"
        android:singleLine="true"
        android:hint="givemepass"
        android:id="@+id/nameField"/>
    <TextView
        android:layout_width="match_parent"
        android:layout_height="wrap_content"
        android:text="Phone"/>
    <EditText
        android:layout_width="match_parent"
        android:layout_height="wrap_content"
        android:singleLine="true"
        android:hint="0987654321"
        android:id="@+id/phoneField" />
    <TextView
        android:layout_width="match_parent"
        android:layout_height="wrap_content"
        android:text="Sex" />
    <EditText
        android:layout_width="match_parent"
        android:layout_height="wrap_content"
        android:singleLine="true"
        android:hint="Male/Female"
        android:id="@+id/sexField" />
    <Button
        android:layout_width="match_parent"
        android:layout_height="wrap_content"
        android:text="Save"
        android:id="@+id/saveButton"
        />
    <Button
        android:layout_width="match_parent"
        android:layout_height="wrap_content"
        android:text="Clear"
        android:id="@+id/clearButton" />
    <Button
        android:layout_width="match_parent"
        android:layout_height="wrap_content"
        android:text="Read"
        android:id="@+id/readButton" />
</LinearLayout>
其中 hint 屬性可以提示使用者該輸入什麼值。

設定好每個欄位存在 SharedPreferences 裡面的名稱。
companion object {
	private const val DATA = "DATA"
	private const val NAME = "NAME"
	private const val PHONE = "PHONE"
	private const val SEX = "SEX"
}
接著我們設定存取資料的函式
private fun readData() {
	settings = getSharedPreferences(DATA, 0)
	nameField.setText(settings.getString(NAME, ""))
	phoneField.setText(settings.getString(PHONE, ""))
	sexField.setText(settings.getString(SEX, ""))
}

private fun saveData() {
	settings = getSharedPreferences(DATA, 0)
	settings.edit()
		.putString(NAME, nameField.text.toString())
		.putString(PHONE, phoneField.text.toString())
		.putString(SEX, sexField.text.toString())
		.apply()
}
settings 是 SharedPreferences 的物件,我們首先在 saveData 方法裡面建立一個叫做 DATA 資料區,然後將每個欄位的資料存進去,接著 readData 把每個欄位的資料取出來,放進所對應的 EditText 裡面,所以我們事件就幾乎是寫好了。
private fun setEventListener() {
	saveButton.setOnClickListener {
		saveData()
		Toast.makeText(this@MainActivity, R.string.save_success, Toast.LENGTH_SHORT).show()
	}
	readButton.setOnClickListener {
		readData()
		Toast.makeText(this@MainActivity, R.string.read_success, Toast.LENGTH_SHORT).show()
	}
	clearButton.setOnClickListener {
		nameField.setText("")
		phoneField.setText("")
		sexField.setText("")
	}
}
save 負責寫入,read 負責讀出,clear 則是把 EditText 上面的文字全部清除,除了 clear 以外,其他兩個動作我們會做對應的處理訊息。
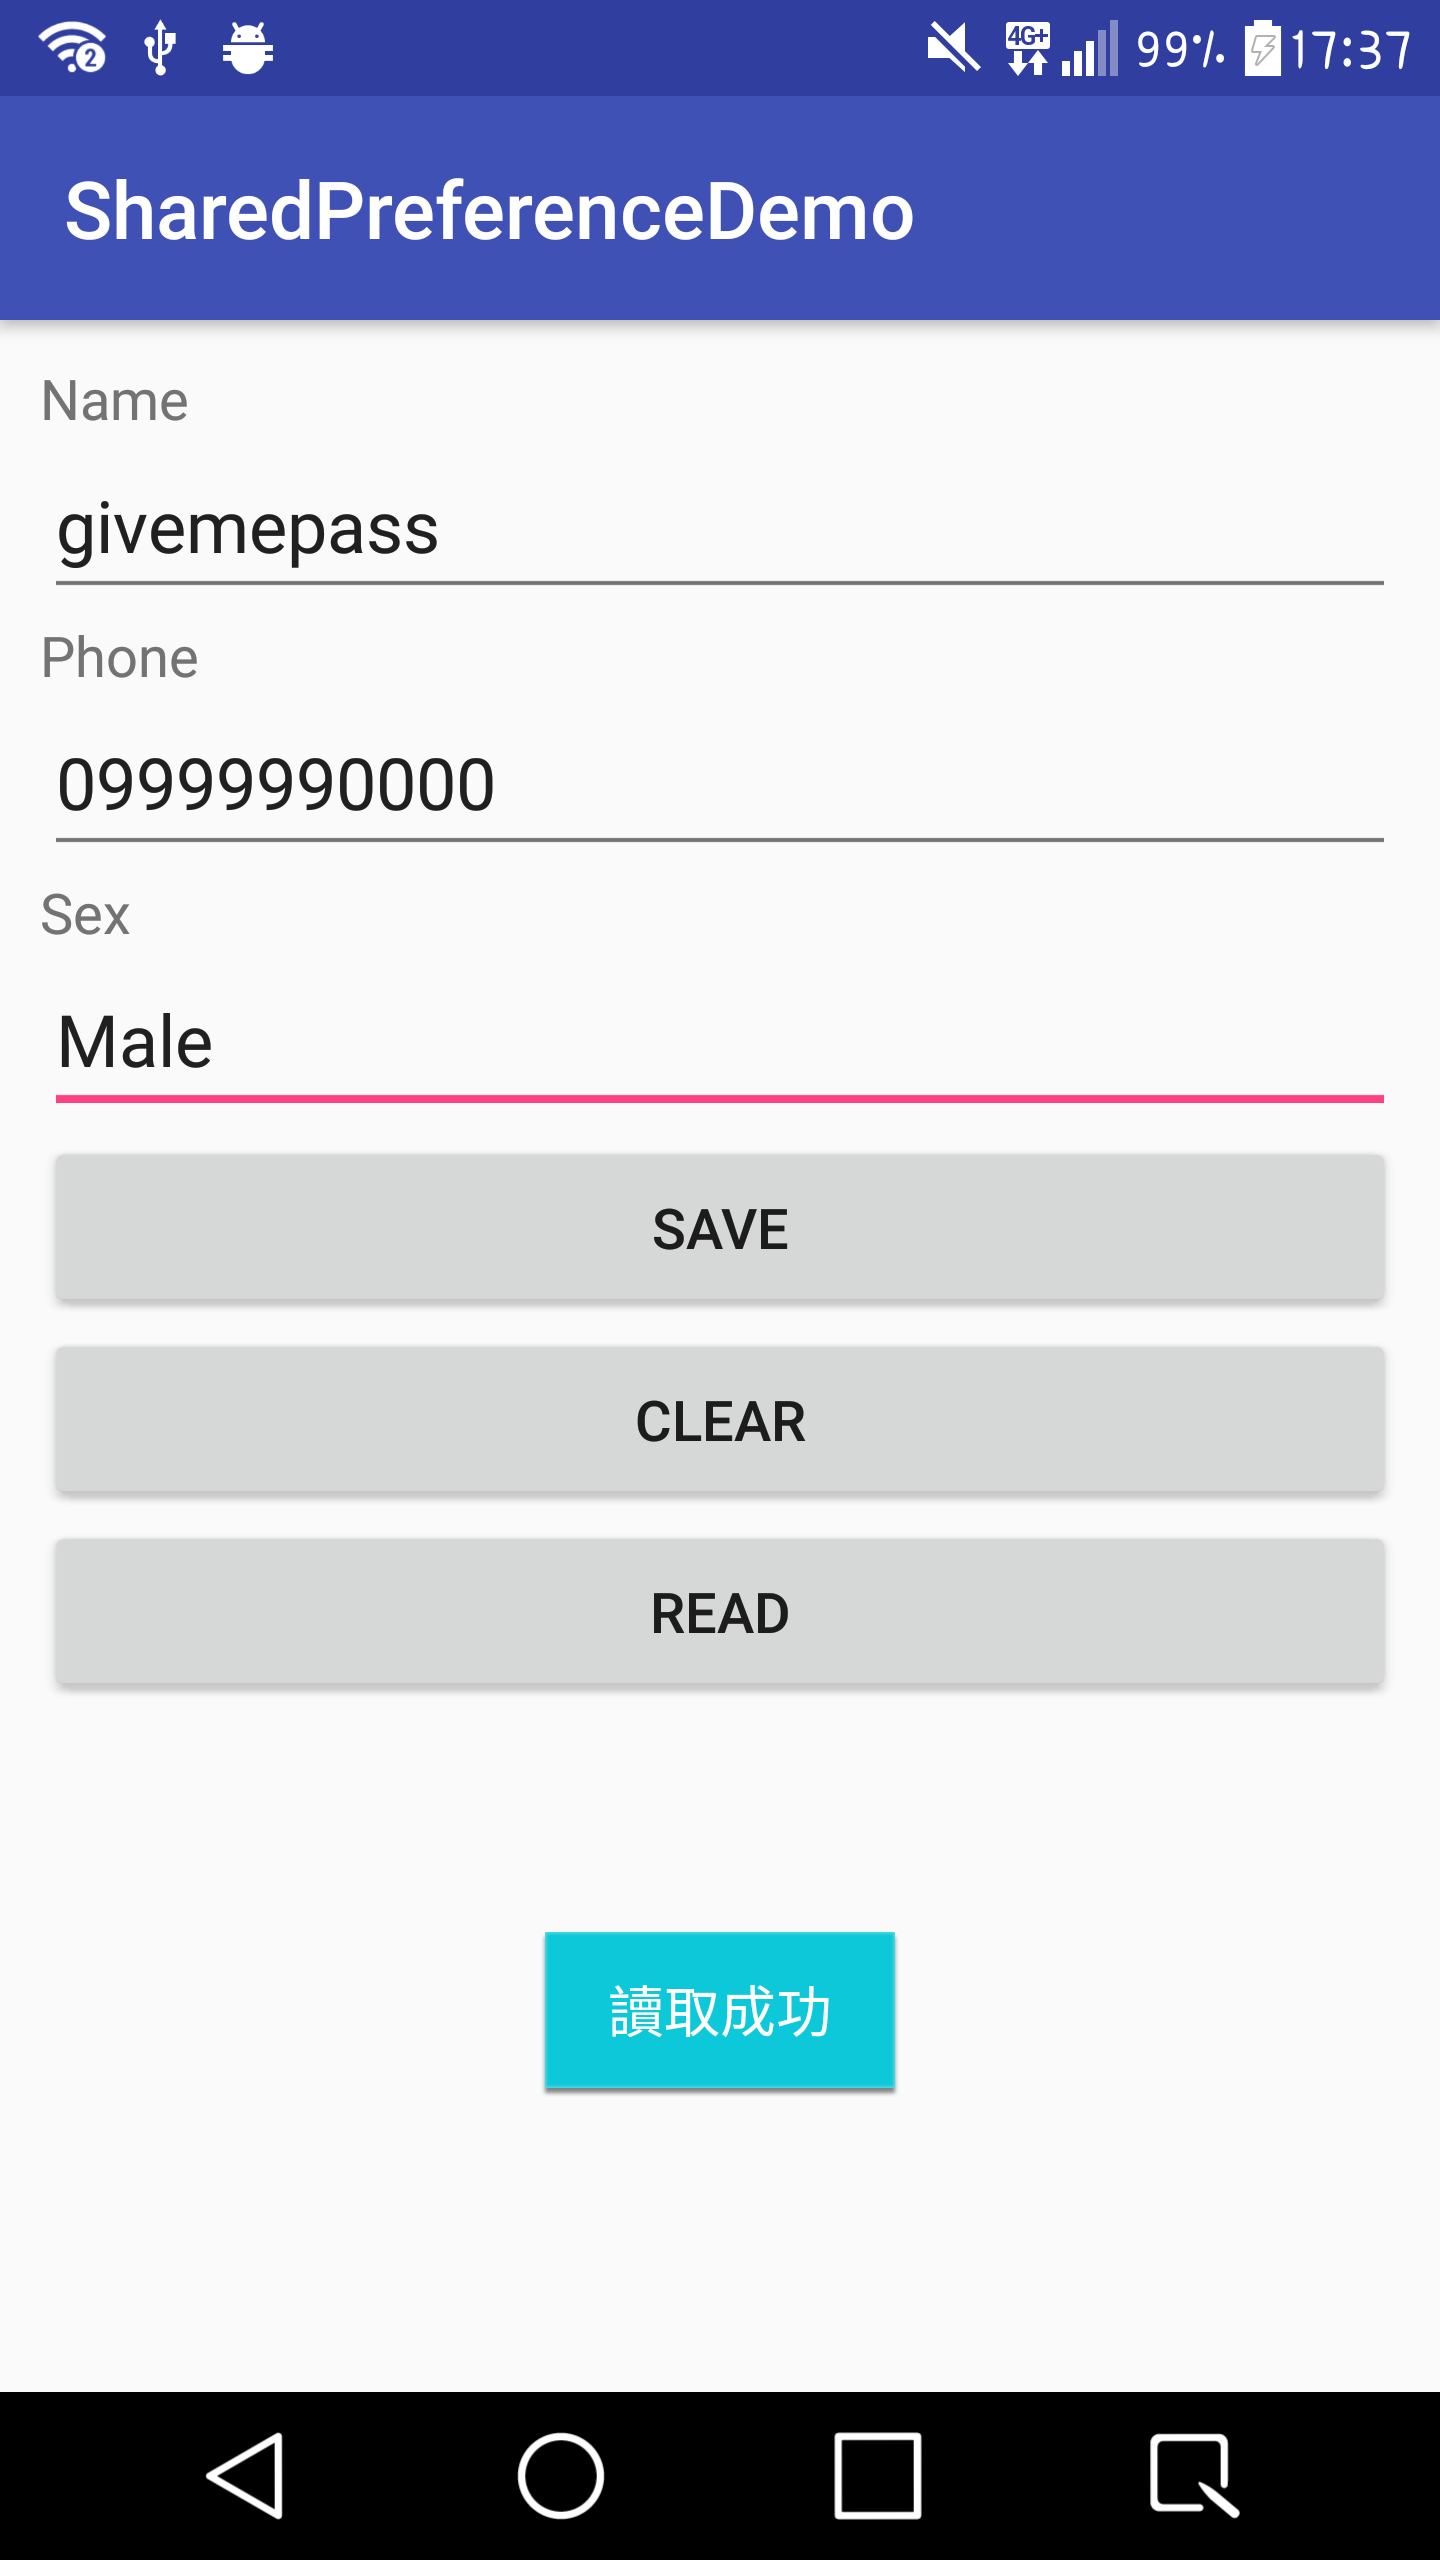
因此我們就可以驗證,當我們輸入好資料以後,按下 save 按鈕,資料就會被儲存到 SharedPreference。

在按下 clear 按鈕,把資料全部清除。

按下 read 按鈕,資料就全部恢復原狀,代表資料已經寫入至 SharedPreference 了。
- 如果你按清除後再按儲存,那麼 SharedPreference 的資料就會被清除了。
這樣就是一個簡單的 SharedPreferences 範例了。